Difference between revisions of "Diecast Enclosures"
| Line 16: | Line 16: | ||
Once you have selected your template, you can start customization. | Once you have selected your template, you can start customization. | ||
| − | In the 3D view, you need to first select the face which you want to customize. You can do so by clicking on Edit Face and selecting the face to edit. | + | In the 3D view, you need to first select the face which you want to customize. You can do so by clicking on Edit Face and selecting the face to edit. <br> |
[[File:Edit_face.png]] | [[File:Edit_face.png]] | ||
Revision as of 15:19, 17 July 2023
Customizable Diecast Enclosures Customized to Your Exact Specifications, in 2-3 Days - Now in Protocase Designer.
https://www.protocase.com/products/diecast-enclosures/
Choosing Your Diecast Enclosure Template
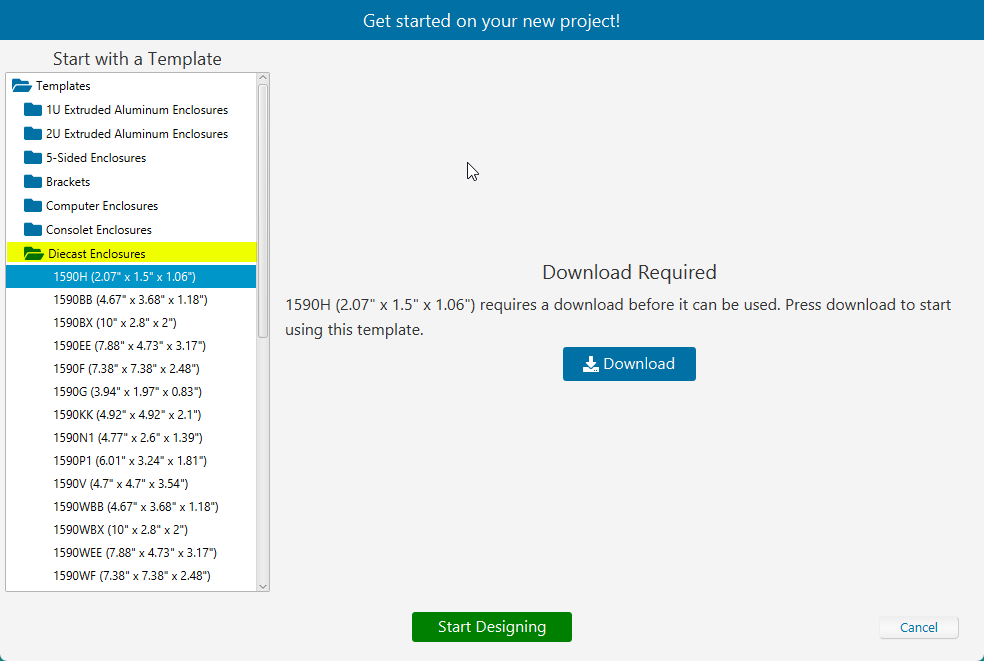
Protocase Designer includes all 28 diecast enclosures that we stock here at Protocase.
Once you've selected the enclosure you want to use from the list, you'll be prompted to download the enclosure if it is your first time using it.

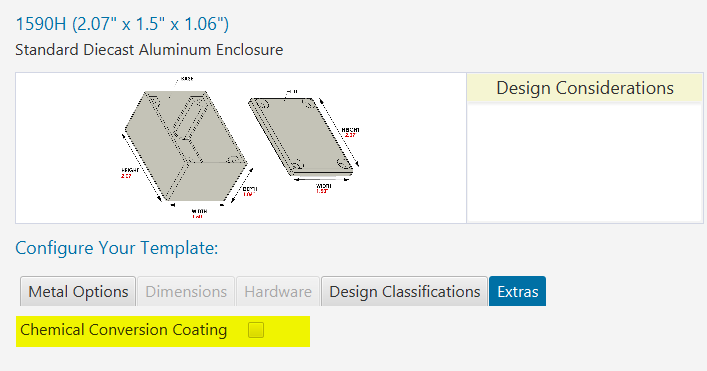
As these are pre-fabricated enclosures with set dimensions, you cannot edit the enclosures dimensions as you would with any other Protocase Designer sheet metal template. The hardware tab is also disabled as there are no hardware features for you to modify.
You can customize the finish of each part, as well as add | Chemical Film Conversion Coating. Click on the Extras tab and check the box labelled Chemical Conversion Coating.

Customizing Your Diecast Enclosure
Once you have selected your template, you can start customization.
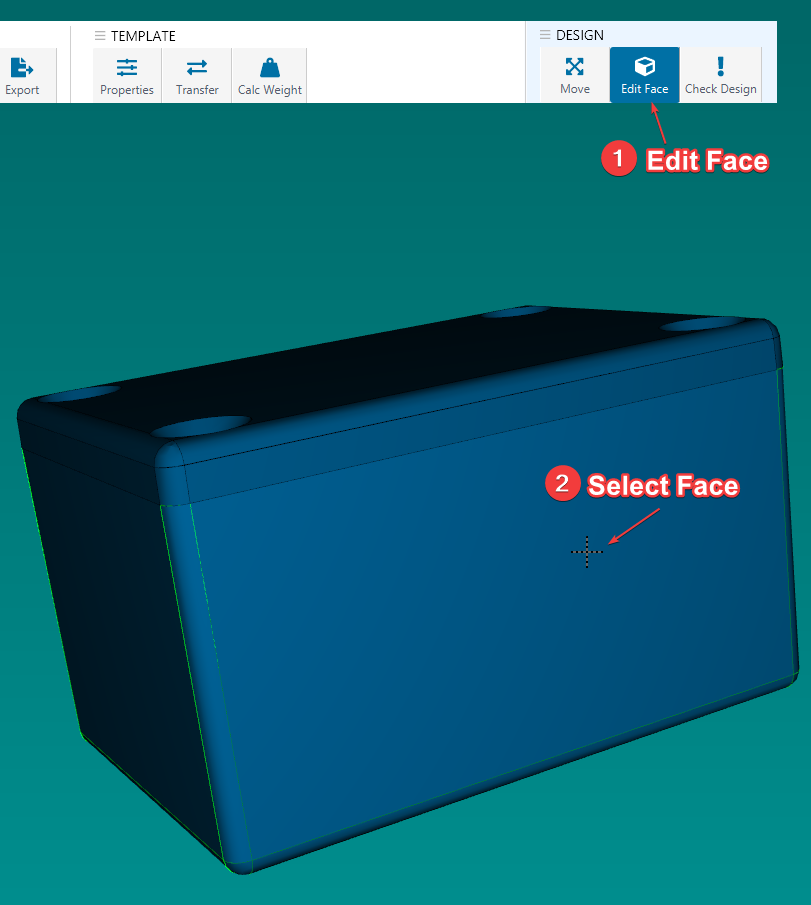
In the 3D view, you need to first select the face which you want to customize. You can do so by clicking on Edit Face and selecting the face to edit.
