3D View Window
Contents
3D View Window overview
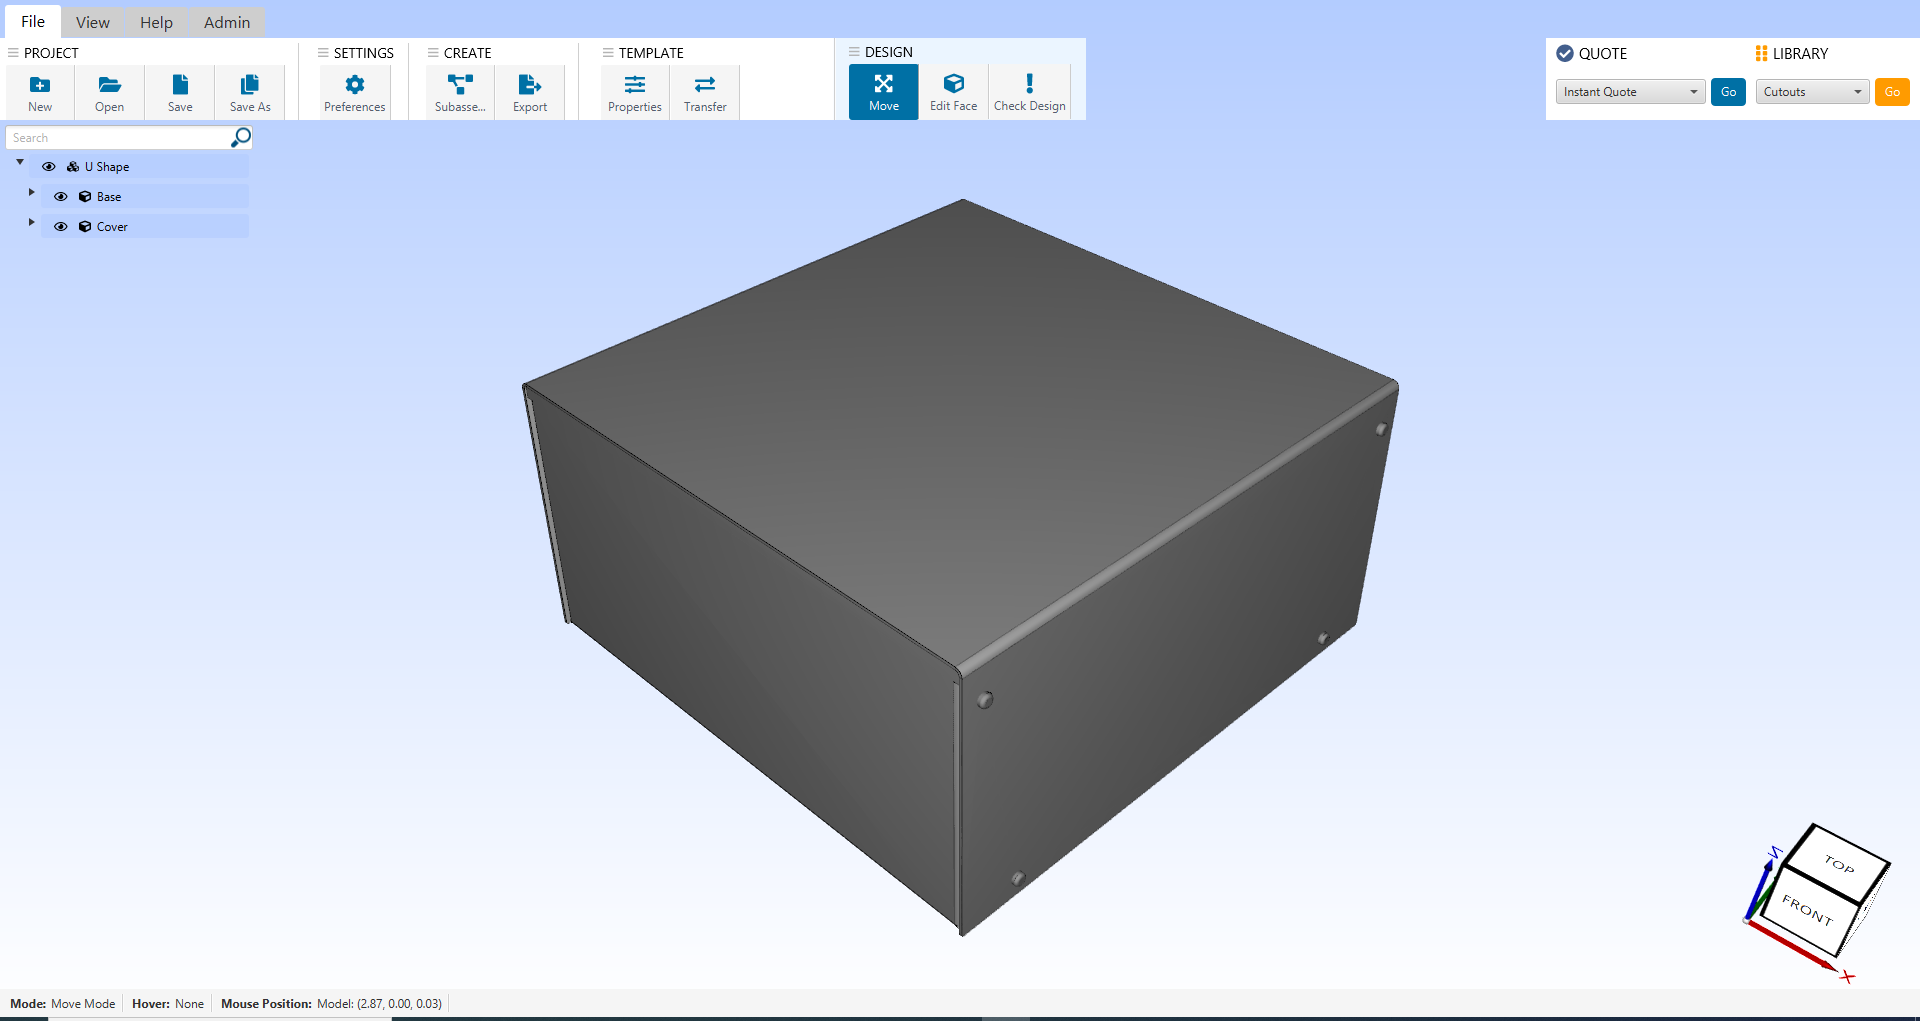
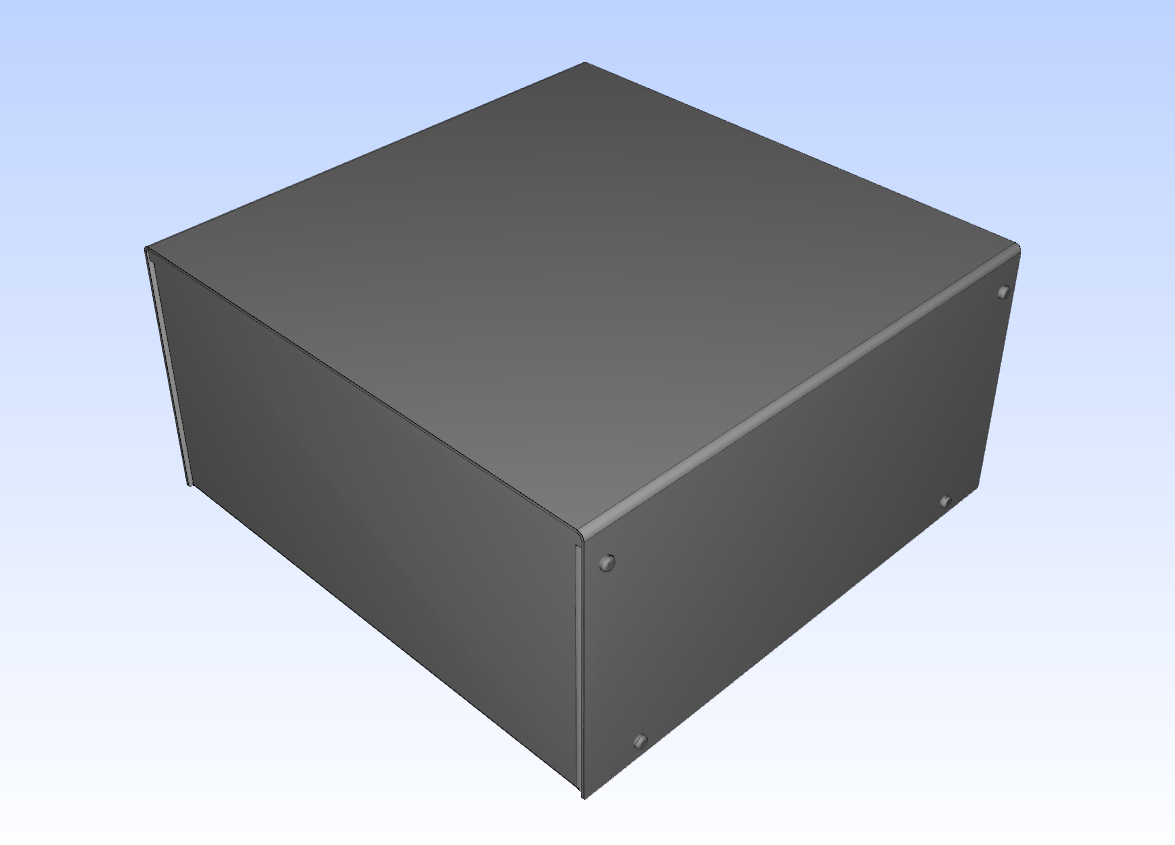
The 3D View window displays a 3D model of your enclosure that you can manipulate.
3D Standard Toolbar
The 3D Viewer has a standard toolbar with different tabs: File, View, Help, Admin.
The functions within the File tab are as follows:
| New
| Create a new assembly.
| Open
| Open a Protocase Designer Assembly you've previously created.
| Save
| Save the assembly you're working on.
| Save As
| Save the assembly in a specific location.
| Preferences
| Change your settings and preferences.
| Sub-Assembly
| Create a sub-assembly for your Protocase Designer assembly.
| Export
| Export your design as a STEP file (.STEP).
| Properties
| Change the properties for the template from which you started your Protocase Designer Assembly, including metal type, thickness, finish, hardware and more.
| Transfer
| Transfer your design to a new enclosure template style.
| Move
| Move your Protocase Designer Assembly in the 3D Viewer.
| Edit Face
| Edit a selected face of your Protocase Designer Assembly.
| Check Design
| Check your design for manufacturabilty warnings and errors.
The functions within the View tab are as follows:
| Rotate
| Rotate your Protocase Designer Assembly.
| Pan
| Move the model around the plane of the viewport.
| Preset Views
| Use the drop-down menu to change your model to a select view: Isometric, Front, Right, Top, Left, Bottom, Rear. Note: You can also use the View Selector Box at the bottom right of the 3D Viewer to change your view to a select face.
| Reset
| Reset the view of your model to the starting view.
| Bent View
| Display the model as it would look after the bending process in manufacturing.
| Flat View
| Display the model as it would look prior to the bending process in manufacturing.
| Part Tree
| View a hierarchical list of all the faces and objects in your enclosure.
| Print
| Print views of each face of your model.
| Explode
| Use the slider to create an exploded view of your model. The higher the number on the slider, the more exploded your view will be.
3D View Preferences
If you want to use a different unit of measure or have other preferences when using Designer, you can set global parameters in the Preferences dialog box.
Creating, opening, and saving assembly files
Creating a new assembly
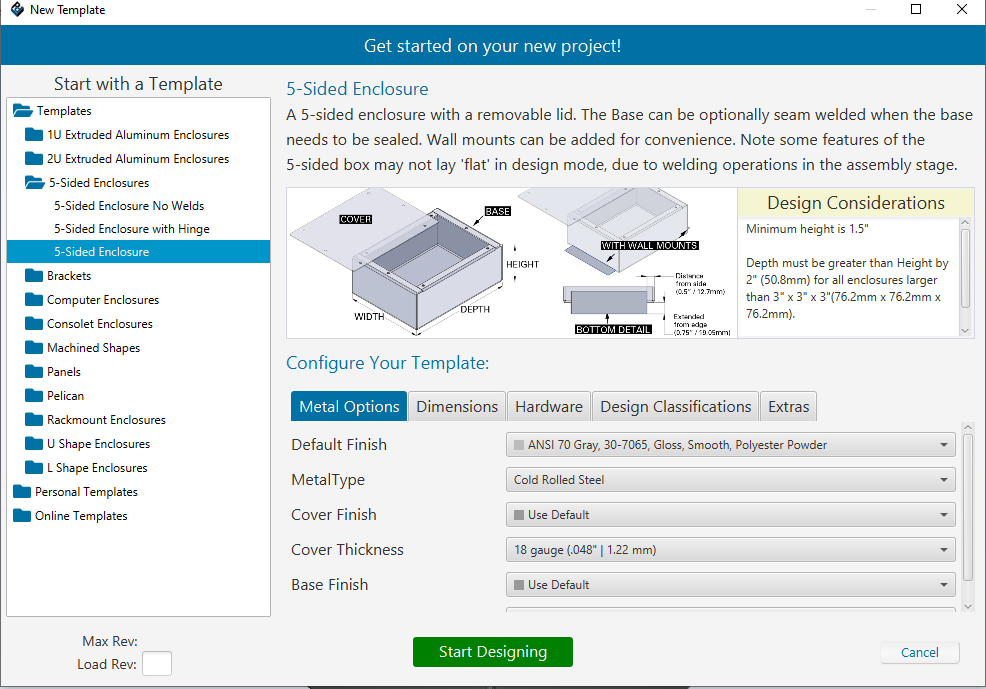
- Click the New File button in the Pick An Option To Start window, choose File > New, or click the Make New Enclosure From Template button in the 3D Standard toolbar. The New Assembly dialog opens.
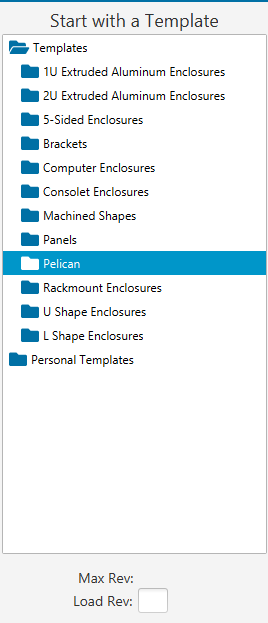
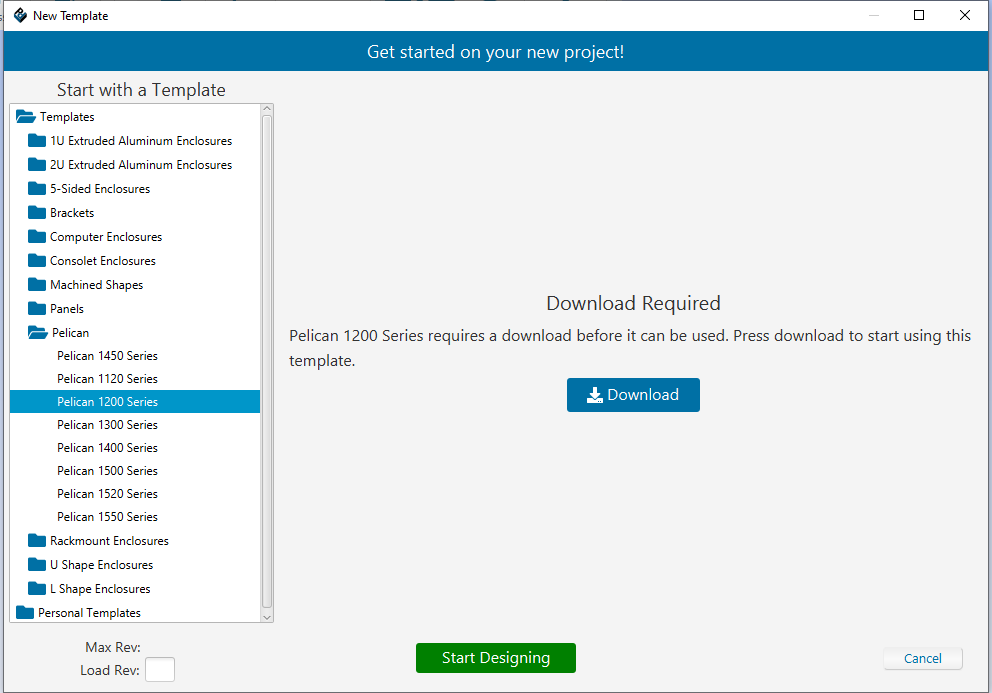
- Select an assembly category on the left and then select an assembly.
- Certain templates must be downloaded before they can be selected. Press the download button to download the template you require.
- Modify the assembly parameters including size, thickness, material, and colour to meet your design requirements, conforming to any Manufacturing Constraints if they are listed at the bottom of the window. See Changing enclosure properties below for details.
- Note: To create a custom bracket with cutouts and other elements, you use the 3D View window to create it, then you use the Face Editor to customize it and to add it to a face. See Creating and adding brackets for step-by-step instructions.
- Click OK to view the 3D model.
Opening an existing assembly
- In the 3D View window, choose Open from the File menu, or click the Open button in the Standard toolbar.
- Select the file you want to open.
Saving an assembly
Files are saved in .PDA (Protocase Designer) format. (Note that you cannot save the enclosure design as a modified template; you can only save the enclosure design.)
- Choose File > Save or click the Save button in the Standard toolbar.
- If this is the first time the assembly is being saved, the Save dialog box opens. Select a location and enter a name for the file, then click Save.
Saving a copy of an assembly
- Choose Save As from the File menu, or click the Save As button in the Standard toolbar.
- In the Save dialog box that opens, select a location to save the file and enter a new name for the assembly, then click Save.
Changing assembly properties
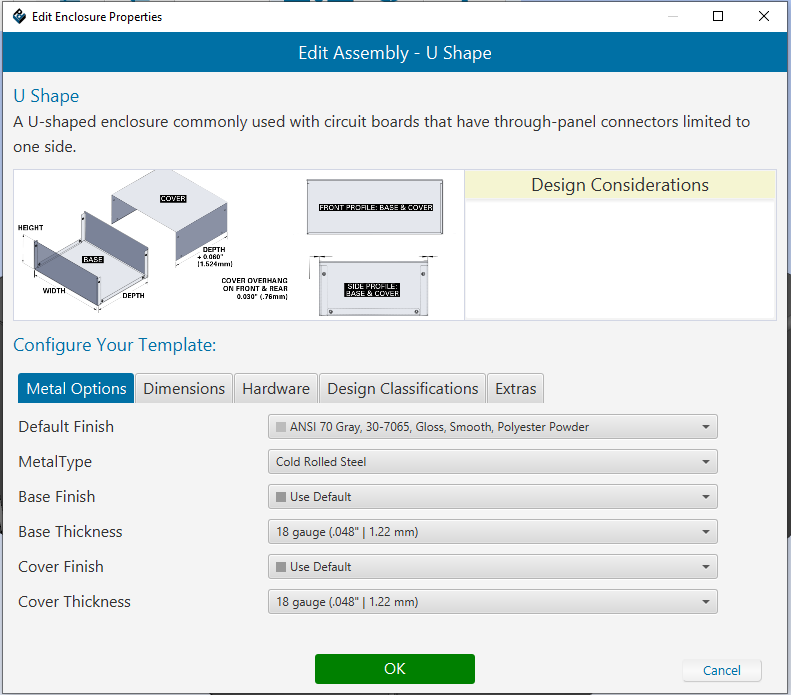
At any point after you create a new assembly (enclosure, bracket, or panel) you can modify its properties such as size, thickness, material, colour, and screw type.
- Choose Edit > Edit Enclosure Properties. The Edit Assembly dialog is displayed.
- Change any of the enclosure properties, being sure to conform to any Manufacturing Constraints if they are listed at the bottom of the dialog.
- If the template includes screws, the Screw Type is displayed with a default value. (Brackets and panels do not use screws.) To change the default screw, click the Screw Type down-arrow and choose the color (Black, Natural [Zinc], or Stainless) and type (Flathead or Panhead).
- To save the modifications, click OK.
Note
- When you select a rackmount enclosure template, the parameters include the Full Height Chassis check box. Selecting this checkbox causes the screws to be countersunk, and the enclosure the same height as the front of the rackmount.
Transferring an enclosure design
- Open the design that you want to transfer.
- In the 3D View, choose File > Transfer to New Enclosure.
- In the Transfer Design to New Assembly dialog that opens, select the new enclosure and modify parameters as needed.
- Designer will transfer parameters for enclosures of the same category; for example, if you are transferring between two types of Extruded enclosures, nothing needs to be changed. However, if you are transferring from a U Shape to a Rackmount, you may need to change some parameters manually.
- Click OK.
- An untitled dialog opens, in which the face names of the original enclosure are listed on the left, and to the right of each name is a column of potential face names for the new enclosure. When the two designs use different names for a face (for example, a Rackmount has a "front panel," whereas a 1U Extruded has a "front plate," whereas a U Shape has just a "front"), select the appropriate face name for the new design. Many of these are pre-selected, but check them all and change the name or choose "Drop This Face" as necessary.
- Tip If you are unsure of a face name for an enclosure, you can check by loading the enclosure and viewing the face in the Face Editor. The face name is displayed in the Status Bar at the bottom of the Face Editor screen.
- Click OK when done (or Cancel to abandon the new enclosure template and return to your original design).
- Check each element of the new design against your original. For some transfers, the cutouts may need to be flipped or moved manually.
Viewing the model
There are several controls to allow viewing and manipulating the 3D model of your enclosure.
Rotating
The Rotate command rotates the model around its center.
- Click the Rotate
button in the Standard toolbar.
- Drag the model to rotate it to the desired orientation.
Panning
To move the model around the plane of the viewport, do any of the following:
- Right-click the model and drag it.
- Press and hold down the <Alt> key, then click and drag the model.
- Click the Pan
button in the Standard toolbar, then click and drag the model.
Zooming
To zoom the model in or out, rotate the wheel button forward or backward.
Notes
- The model zooms in/out from the centre of the viewport, regardless of the pointer location.
- If your pointing device does not have a wheel, open the Face Editor and use the Zoom In and Zoom Out buttons in the Standard toolbar or the Zoom commands in the View menu.
Toggle flat/bent view
The Toggle Flat and Bent commands displays the enclosure parts as they are laid out prior to the bending process during manufacturing. These commands are for reference only, and do not affect the manufacturing of the final enclosure. You can do either of the following:
- To display the model in a flat view, click the Flat button in the Standard toolbar. To display the model in the bent view, click the Bent button. By default, the model is displayed in the bent view.
- You can also change between the two views by choosing View > Toggle Flat.
Reset view
The Reset View command displays the model in the center of the viewport in its original orientation.
Editing a face
You use the Face Editor to add cutouts, graphics, exclusion zones, masking, and construction lines to a face.
To open the Face Editor:
- Rotate the model to show the face you want to edit.
- Click the Edit Face button.
. The pointer will change to a crosshair.
- Click a face to edit. The Face Editor window opens.
Viewing the Part Tree
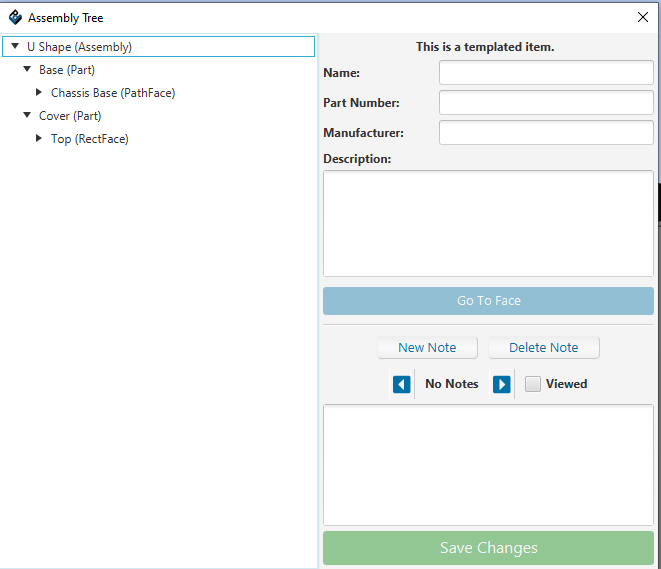
The Part Tree shows a hierarchical list of all the faces and objects in your enclosure. You can change the name and description of objects as well as open a face in the Face Editor Window directly from the Part Tree.
![]()
- Click the icon to the left of a face to display the objects on that face below.
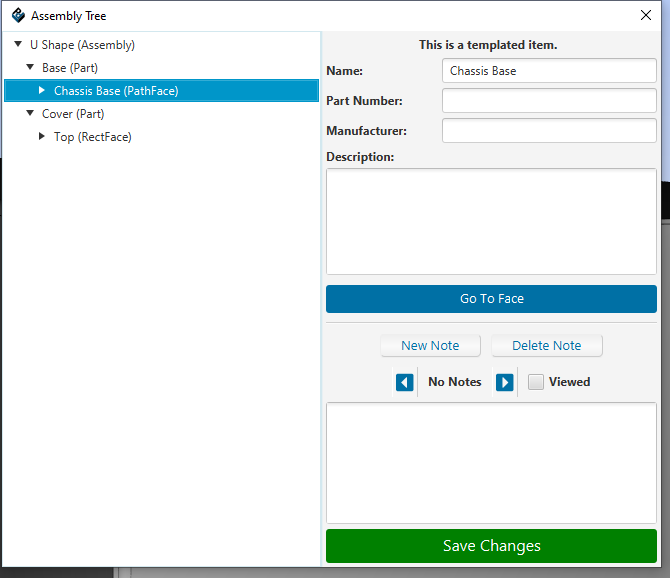
- Click an object name to display description, and notes on the right of the Part Tree window.
Change object name and description
- Click an object name on the left.
- Type a new name or description on the right.
Add/Delete notes
You can add notes to parts, faces, and objects for your own reference or to provide additional information to technical support such as "Please scrub this with a scouring pad". You can also use it to place features that might not be permitted in Protocase Designer but can be manufactured with certain restrictions. For example, you could create a circle using construction lines near the edge of a face on the exclusion zone (where you wouldn't normally be able to place a self-clinching standoff) and add a note "Add 6-32 x 3/8" standoff here".
- Click an object name on the left.
- Do one of the following:
- If there are no notes, type a note in the notes field.
- If there are existing notes, click New Note and type a note in the notes field.
- Click the arrows to view each note.
- Click Delete Note to delete the currently displayed note.
Editing a face from the Part Tree
Note: The Part Tree window can also be accessed from the Face Editor.
Exporting an IGES file
You can export your PDA file into an IGES file, allowing you to import your project into other CAD software.
This IGES export feature is currently only compatible with the 2018 release of Solidworks (as well as NX).
- Open the existing PDA file that you saved from the Protocase Designer software
- Select the Export Menu, and in the drop down, click Export Assembly to IGES.
Note: Depending on the complexity of your design, the software could take a considerable amount of time to export the file, as it must export each feature individually. - Once the export is completed, you can now open your exported IGES file in various CAD software.
Note: In order to import your IGES file into SolidWorks 2018, the Enable 3D Interconnect setting must be enabled. This can be found under Tools->Options->Import->General.
Also, this is currently only intended as a means of archiving your projects. We are working on improvements to this functionality to increase the usability of the exported file.
This will be released in a future version of Designer.
View full video tutorial here: https://www.youtube.com/watch?v=Fdyi_QXU7M0
Exporting a STEP File
You can export your Protocase Designer Assembly as a STEP file, allowing you to import your project into other CAD software.
To export your file:
- Open your existing PDA file saved in the Protocase Designer software.
- Select the "Export" option under the File Menu in the tool bar at the top of your screen.
- Ensure your chosen file type is set to STEP Files (*.STEP/STP)
- The software will process your request. The time that this step will take depends on the complexity of your design.
- Once the export is completed, open your other CAD software and select your design.
Note: We support AP203 and AP214 STEP Application protocols.
