Centering text on a face
From Protocase Designer Documentation
This tutorial shows how to use snap points to center text on a face vertically, horizontally, or both.
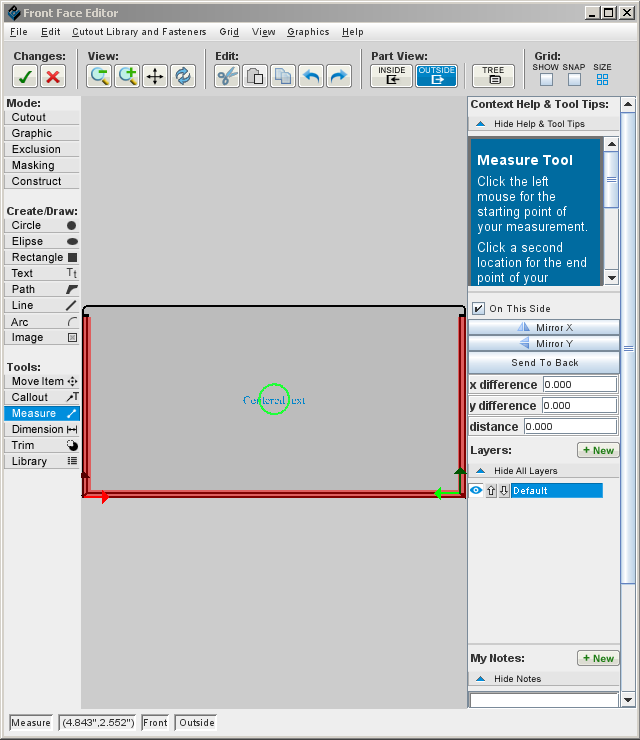
- Tip: This procedure requires that you identify the center of both the text box that you are centering and another object that you use as a reference point. To correctly identify a center, you might have to enlarge the view. For example, at this View size, the Measure pointer does not snap to the exact center of the object, even when it turns green...

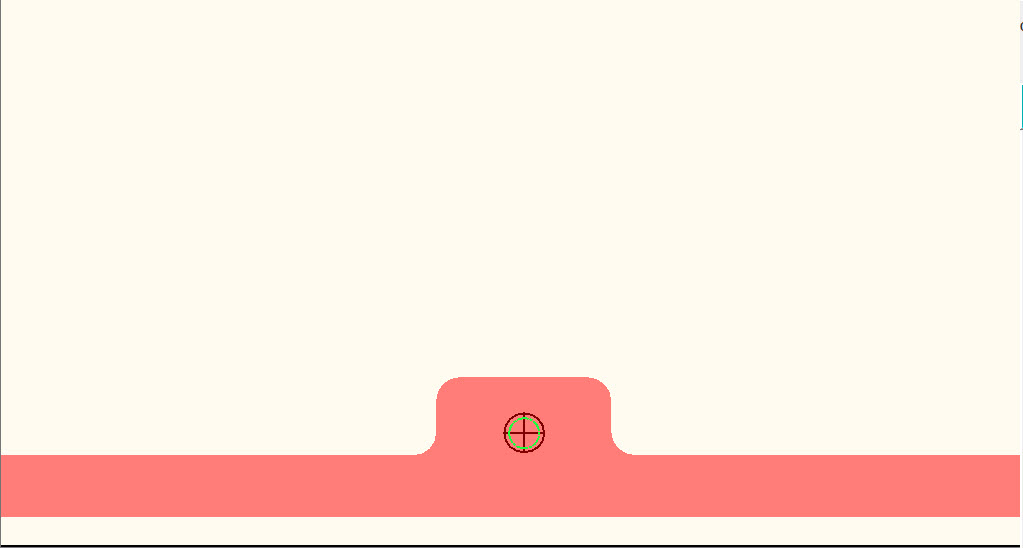
- ...but it does when you zoom in.
- In the following examples, text and objects are shown at their normal size in order to show the entire face.


To center text horizontally
- In the Face Editor, click the Text tool
 and type the text that you want to center on the face. It does not matter if the text is too small to read.
- Click the Measure tool
 .
.
- The pointer turns to a red circle, which turns green when it is moved over a snap point. Center snap points are in the center of each edge of the face, the center of the face, and in the center of any object that is already centered, such as the stud on the front panel of a rackmount enclosure.
- When you are centering the text horizontally, snap to the center point of the top or bottom edge of the face, or to the center point of an object that is already centered horizontally on the face.
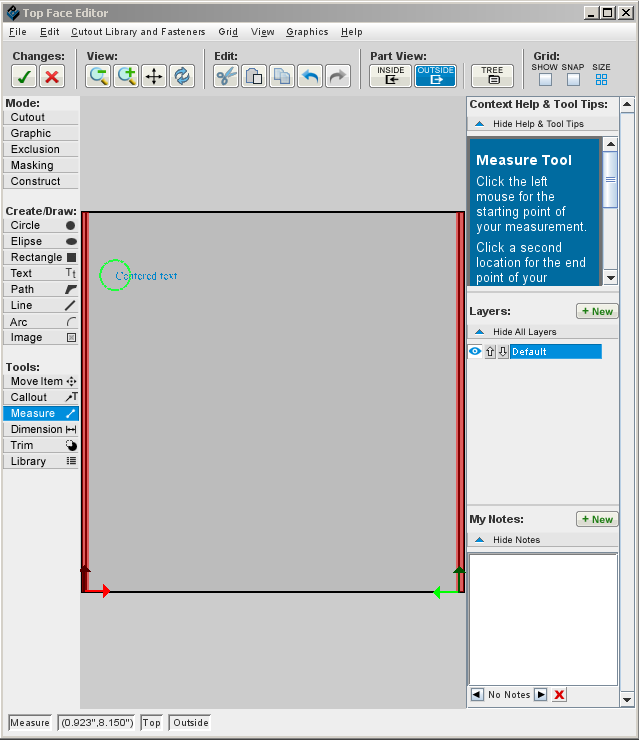
- In this example, the pointer is near the center of the bottom edge of the face, but it has not yet snapped to the center point, so it is still red:
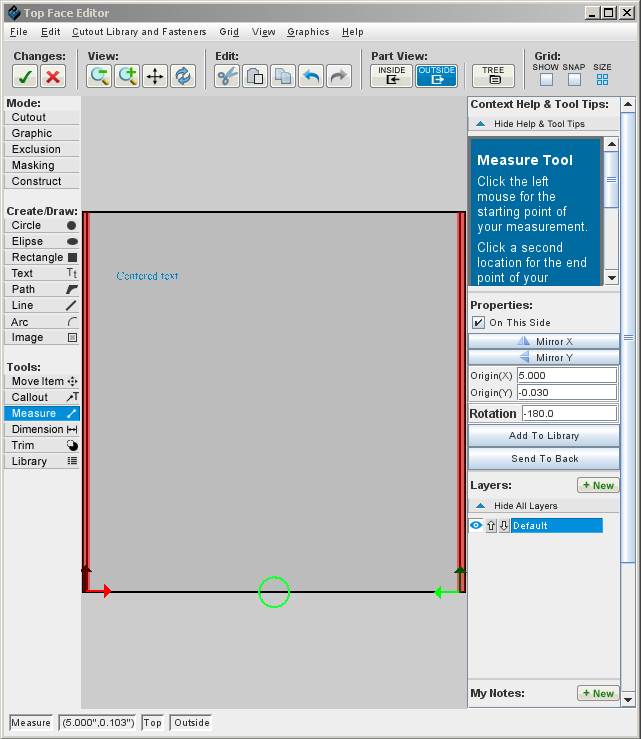
- Now the pointer has snapped to the center point of the bottom edge of the face, so it has turned green:
- The pointer turns to a red circle, which turns green when it is moved over a snap point. Center snap points are in the center of each edge of the face, the center of the face, and in the center of any object that is already centered, such as the stud on the front panel of a rackmount enclosure.
- When you have moved the pointer so that it snaps to your chosen center point, click the mouse to anchor it there.
- Move the Measure pointer to the text, and click it when it snaps to the center point of the text box.
- Change the x difference to "0" and press <Enter>.


The text is now centered horizontally on the face.
To center text vertically
Follow the same general procedure as for centering text horizontally, but with the following changes:
- Do not use the center of the top or bottom edge as a reference point, but instead use the center of the left or right edge.
- In step 5, change the y difference to 0. (Do not change the x difference.)
To center text both horizontally and vertically
- Enter the text, then click the Measure tool.
- Click the center snap point of the face.
- Click the center snap point of the text box.
- In the Properties panel, change the distance to 0 and press <Enter>. (Note that this causes x difference and y difference to automatically change to 0 as well.)

- The text is now centered both vertically and horizontally: